If you are looking for a squat that is simple, easy on your joints and actually works, the goblet squat is it. Low-key, it is one of my favorite exercises, and I think it is the best squat a beginner can start with.
For me, a goblet squat is just a really easy squat to do. You hold one weight in front of your chest and you squat. That is it. Even if I am only holding one dumbbell, I am still squatting, my legs are still working, and my knees and back do not complain about it.
In this guide I will show you how to do a goblet squat with proper form, what it does for you, what to use if you do not have a dumbbell, and how I use it on the days when I do not want to do anything heavy.
One quick note: if you have knee, hip or back problems, or any health condition, check with a doctor before you start.
Never worked out before? Get the free beginner plan in your inbox → Ten minutes a day, at home, with nothing to buy.
What Is a Goblet Squat (and Why It’s Great for Beginners)?
A goblet squat is a squat where you hold one weight, like a dumbbell or a kettlebell, close to your chest with both hands. It is called a “goblet” squat because you hold the weight like you are holding a big cup in front of you.
That small detail makes a big difference for beginners:
- The weight in front helps you stay upright. It works like a counterweight, so it is easier to sit down between your legs without falling backward or folding forward.
- It is easy on your joints. You are not putting a heavy bar on your back, so there is a lot less pressure on your spine.
- It is hard to mess up badly. If the weight is too heavy, you simply cannot hold it. Your body tells you right away.
- You only need one weight. One dumbbell, one kettlebell or one heavy backpack is enough.
It is basically a normal squat with training wheels, except it never really stops being useful. I still do them.
Benefits of the Goblet Squat
Honestly, the benefits of the goblet squat are the same as any other squat variation. You are just getting them in a way that is easier to learn and easier on your body.
- Stronger legs. Your quads, glutes and adductors (inner thighs) do most of the work.
- A stronger core. Holding a weight in front of you forces your abs and upper back to work so you do not fold over.
- Better squat form overall. It teaches you to sit down between your hips with your chest up, which carries over to every other squat.
- Better mobility. Going deep with a weight in front of you helps open up your hips and ankles over time.
- Lower injury risk while learning. Light weight, upright back, easy to bail out of.
It also counts toward the basics. The WHO physical activity guidelines recommend muscle-strengthening activities on two or more days a week for adults, and a couple of sets of goblet squats is one of the simplest ways to tick that box.
What You Need for Goblet Squats
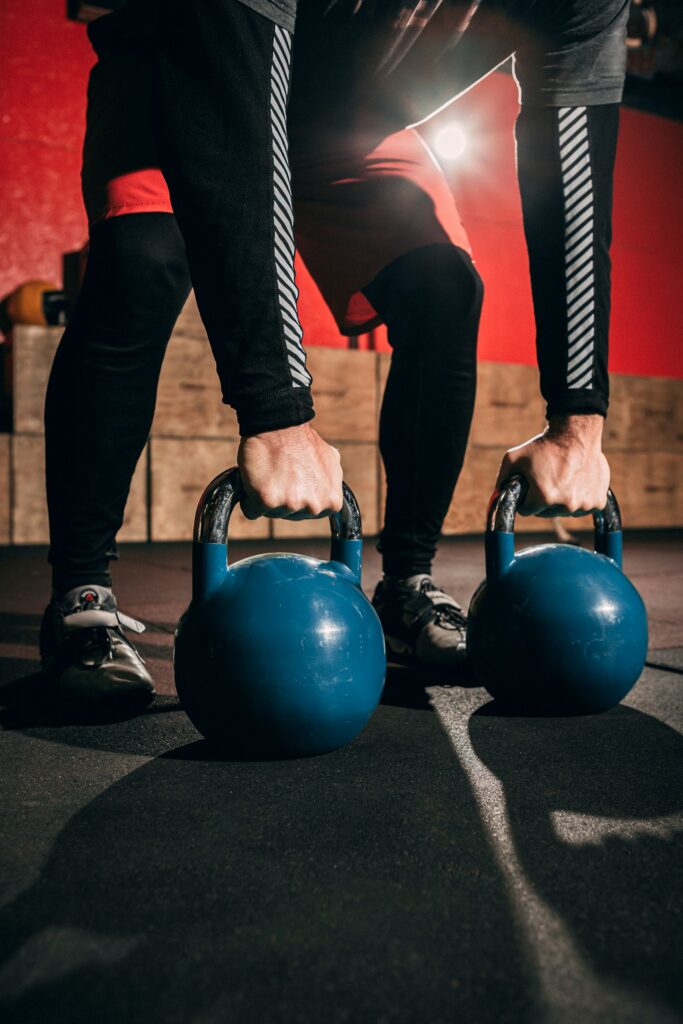
Not much. Anything you can hold close to your chest works:
- A dumbbell. Hold it vertically by one end, with both hands cupping the top.
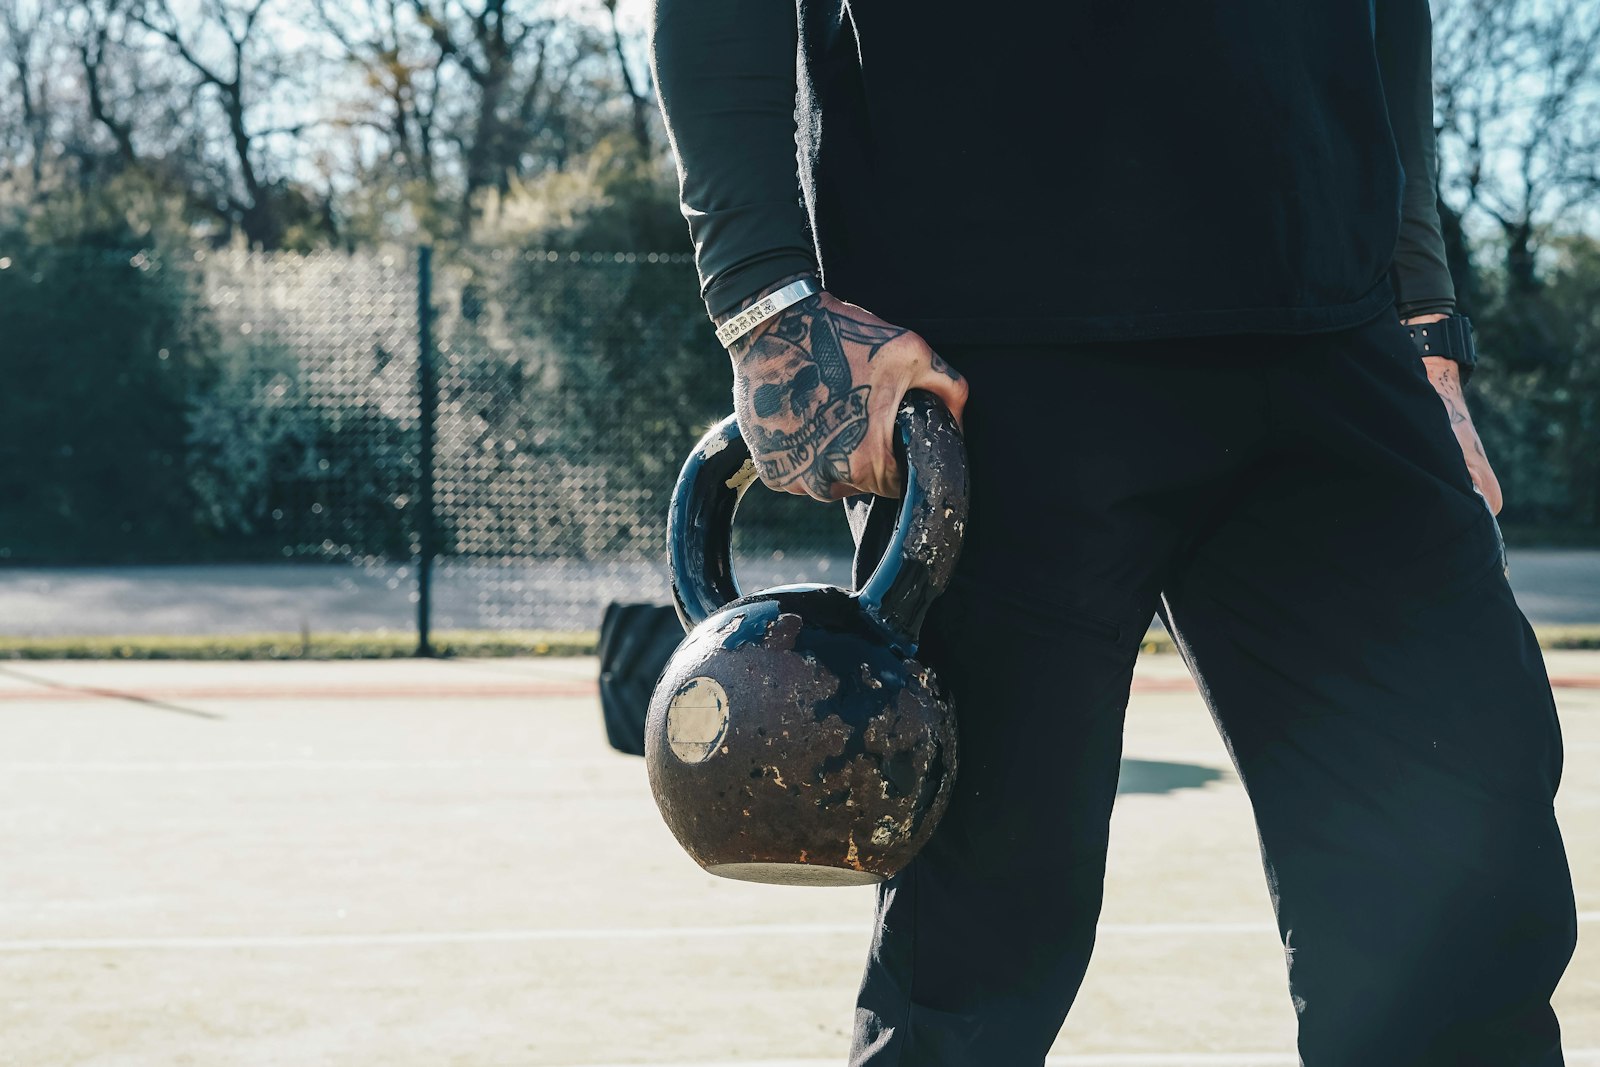
- A kettlebell. Hold it by the horns (the sides of the handle) or upside down by the bell.
- A backpack. Fill it with books or water bottles and hug it to your chest.
- Anything heavy you can hold safely. A bag of rice, a big water jug, whatever you have.
- Nothing. You can start with bodyweight only and your hands together in front of your chest.
And if you have a little brother or sister, you can hold them. I am serious. It is a fun day for them, it is a funny exercise activity for both of you, and you are still getting your workout in. You feel me? Just make sure they are small enough to hold comfortably, they are into it, and you go slow and controlled.
My First Goblet Squats
My first goblet-style squat was actually in the gym, and it was not even with a weight. It was the normal bodyweight squat where you open your legs, bring your hands together in front of you like you are praying, and just squat down and up.
My first thought was basically, “Oh wow, this one is easy.” And that is kind of the point.
I do not like squatting with my empty hands just hanging there, so I started holding them together in front of my chest. Later I started holding a dumbbell the same way, and that is a goblet squat. Same movement, just with something in your hands.
These days I use goblet squats a lot on the days when I am tired. Say I had a long day at work and had to travel something like 140 km across cities. I just do not go heavy. I do not want to do a heavy squat or anything that I know for sure will have me in pain the next day. So I do goblet squats, and let’s go. It still activates my legs, I still get my training in, and I am not destroyed the next morning.
How to Do a Goblet Squat With Proper Form: Step by Step
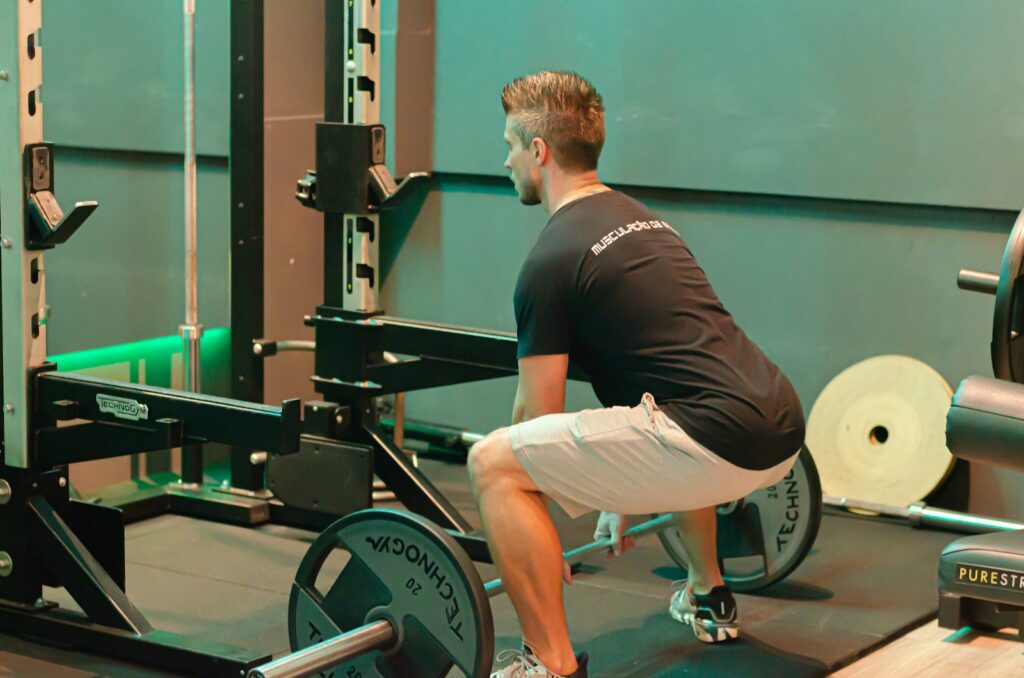
The goblet squat form is basically the same as any other squat. Here is the breakdown.
1. Setup
- Stand with your feet a bit wider than shoulder-width. I personally like my legs a little wider. It feels more comfortable and lets me go deeper.
- Point your toes slightly out, around 15 to 30 degrees.
- Hold the weight right against your chest, with your elbows pointing down.
- Brace your stomach like someone is about to poke you in the belly.
2. Going Down
- Start by bending your hips and knees at the same time.
- Think about sitting down between your legs, not behind you onto a chair.
- Push your knees out so they follow the direction of your toes.
- Keep your chest up and the weight glued to your chest. Take about two to three seconds on the way down.
3. The Bottom Position
- Go as low as you can while your heels stay on the floor and your back stays flat.
- For most people, that is with the hips around knee height or a bit lower.
- Your elbows can end up inside your knees at the bottom. That is a good sign you are sitting between your legs.
- Do not bounce. Control it, pause for a second if you want, and then come up.
4. Standing Back Up
- Push through your whole foot, especially your heels and the middle of your foot.
- Keep your chest up so you do not tip forward as you stand.
- Squeeze your glutes at the top and stand all the way up.
- Breathe out on the way up, take a breath at the top, and go again.
Goblet Squat Variations for Beginners
Pick the one that matches where you are right now. Move to the next one when you can do all the sets and reps with clean form.
Bodyweight Prayer Squat: 3 sets of 12–20 reps
This is how I started. No weight, hands together in front of your chest like you are praying.
- Same stance as the goblet squat, feet a bit wider than your shoulders.
- Use your hands as a guide. Keep them in front of your chest the whole time.
- If you lose balance or your heels come up, do not go as deep yet.
Box Goblet Squat: 3 sets of 10–12 reps
Great if you are not sure how low to go or you are scared of falling back.
- Put a chair, bench or box behind you.
- Squat down until you lightly touch it, then stand back up. Do not sit and relax on it.
- Use a lower box as you get more comfortable.
Dumbbell or Kettlebell Goblet Squat: 3 sets of 8–12 reps
The main version.
- Hold the weight against your chest with your elbows pointing down.
- Follow all the steps above.
- Pick a weight where the last two or three reps feel hard, but your form stays clean.
Pause Goblet Squat: 3 sets of 6–8 reps
When regular goblet squats start feeling too easy and you do not have heavier weights at home.
- Squat down and hold the bottom position for two to three seconds.
- Stay tight. Do not relax at the bottom.
- Stand up strong. The pause makes a light weight feel a lot heavier.
Common Goblet Squat Mistakes
- Heels coming off the floor. Your weight is going too far forward onto your toes. Sit back a little more between your hips, widen your stance, or put small plates under your heels while your ankles loosen up.
- Knees caving in. Push your knees out so they follow your toes, especially on the way up.
- Letting the weight drift away from your chest. The further it is from you, the more it pulls you forward. Keep it glued to your chest.
- Rounding your back at the bottom. Only go as deep as you can with a flat back. Depth will come with time.
- Going half-way down. Half reps feel easier, but you are leaving a lot of the benefit on the table. Go as low as your form allows.
- Rushing the reps. Control the way down. Do not just drop.
Tips to Get Better at Goblet Squats
- Add them to your normal leg day. Goblet squats are not just for weak days, and you do not need a separate goblet squat workout. Do them on your regular leg day, especially when you do not feel like going heavy.
- Use them on low-energy days. Like I said, when I am tired I swap heavy squats for goblet squats. You still train, without paying for it the next day.
- Go a bit wider. If squats feel awkward, try a wider stance. That is what works for me.
- Film yourself from the side. Check that your chest stays up, your heels stay down and your back stays flat.
- Progress slowly. More clean reps first, then more weight. A backpack lets you add weight one book at a time.
A Simple 4-Week Goblet Squat Routine
Do this two times a week, with at least one rest day in between. You can do it on its own or add it to your normal leg day.
| Week | Main exercise | Second exercise |
|---|---|---|
| 1 | Bodyweight prayer squat: 3 × 12–20 | Glute bridges: 3 × 12–15 |
| 2 | Box goblet squat: 3 × 10–12 | Glute bridges: 3 × 12–15 |
| 3 | Dumbbell or kettlebell goblet squat: 3 × 8–12 | Romanian deadlift: 3 × 8–12 |
| 4 | Goblet squat: 3 × 10–12 (heavier if form is clean), or pause goblet squat: 3 × 6–8 | Romanian deadlift: 3 × 8–12 |
If you have not done Romanian deadlifts before, here is my beginner guide to the Romanian deadlift at home. Squats train the front of your legs more, RDLs train the back, so they go well together.
Want the full plan around this? Get the free beginner plan → One email a day. Unsubscribe any time.
Goblet Squat vs Back Squat: Which Should Beginners Do?
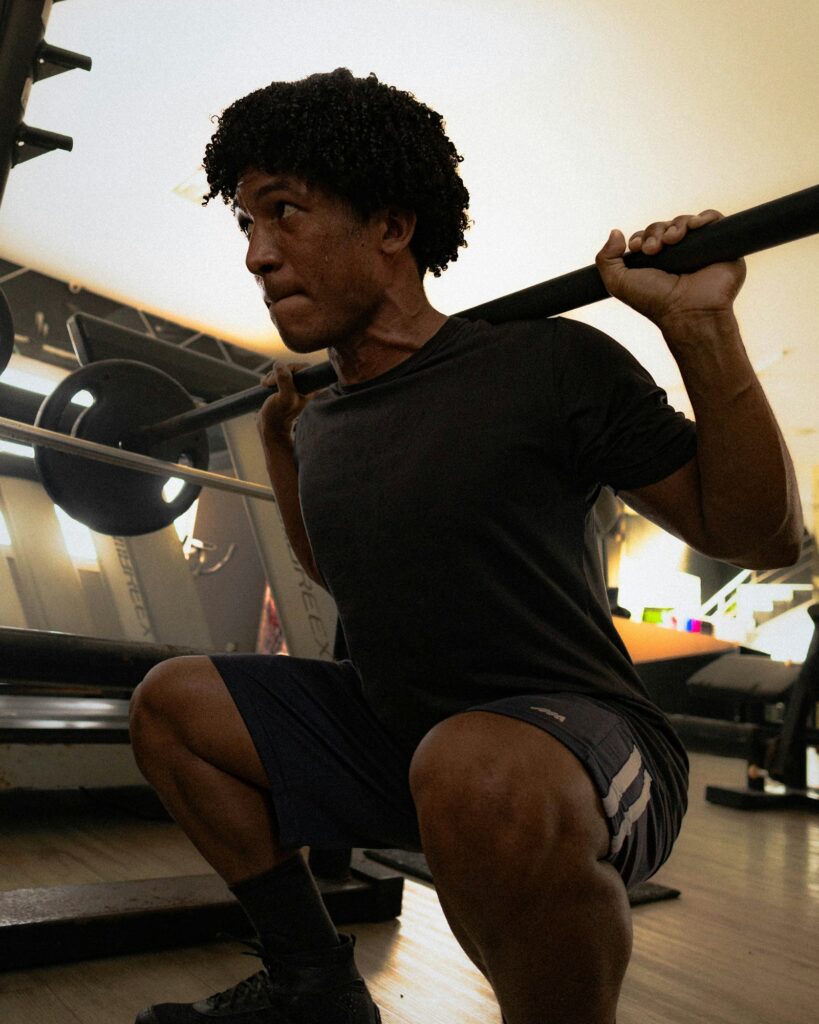
If you are a beginner, I would absolutely say goblet squat.
The back squat is really beneficial. It lets you lift a lot more weight, and it is great for building strength once you know what you are doing. But if you do it wrong, especially with heavy weight on your back, your back can go boom, if you feel me.
- Goblet squat: One weight in front of your chest. Easier to learn, easier on your back, easy to bail out of. Perfect for learning the squat and training at home.
- Back squat: A barbell on your upper back. Heavier loads and more strength potential, but it needs a rack, good technique and more confidence.
My advice: learn the squat with goblet squats first. If you join a gym later and want to back squat, you will already know how to move.
Frequently Asked Questions
Are goblet squats enough to build legs?
Yeah, absolutely, especially as a beginner. As long as you keep making them harder over time with more reps, more weight or pauses, they will build your legs. Pair them with something for the back of your legs, like Romanian deadlifts, and you are covered.
How heavy should a beginner go?
Start with a weight that kind of challenges you, where the last few reps of each set feel hard but your form stays clean. Then go up from there. If you are not sure, start lighter. You can always go heavier next week.
Can you do goblet squats every day?
No. Your muscles need time to recover, and that is when they actually get stronger. Two or three times a week is plenty.
Are goblet squats bad for your knees?
No, not if your form is good. Even if your form is not perfect yet, as long as you are not going heavy, goblet squats are way more knee-friendly than a heavy back squat, because the weight is light and you stay upright. Still, work on your form, it is what keeps your knees happy long term. A review of squat research even found that deep squats done with proper technique and a sensible load are not a bigger risk to healthy knees than shallow ones. If you already have a knee injury or any real problem, though, talk to a doctor or physical therapist first.
Where to Go From Here
Start with the bodyweight version, get your form right, and then grab something heavy to hold.
If you want a full routine to put this in, check out my 6-week calisthenics workout plan for beginners. If you are starting from zero, here is how I started working out at home with no equipment. And if you are thinking about joining a gym, I wrote about gym machines vs free weights for beginners.
Simple exercises still work. You just have to actually do them.
About the Author
I started training at home during COVID with no equipment, and calisthenics turned that into a real journey, all the way to strict pull-ups and muscle-ups. These days I mostly do kickboxing and bodyweight training, with some judo and Brazilian jiu-jitsu on the side. Outside of training, I work as a software engineer and I am building my own SaaS. What I write here is what I wish someone had told me when I was starting from zero.