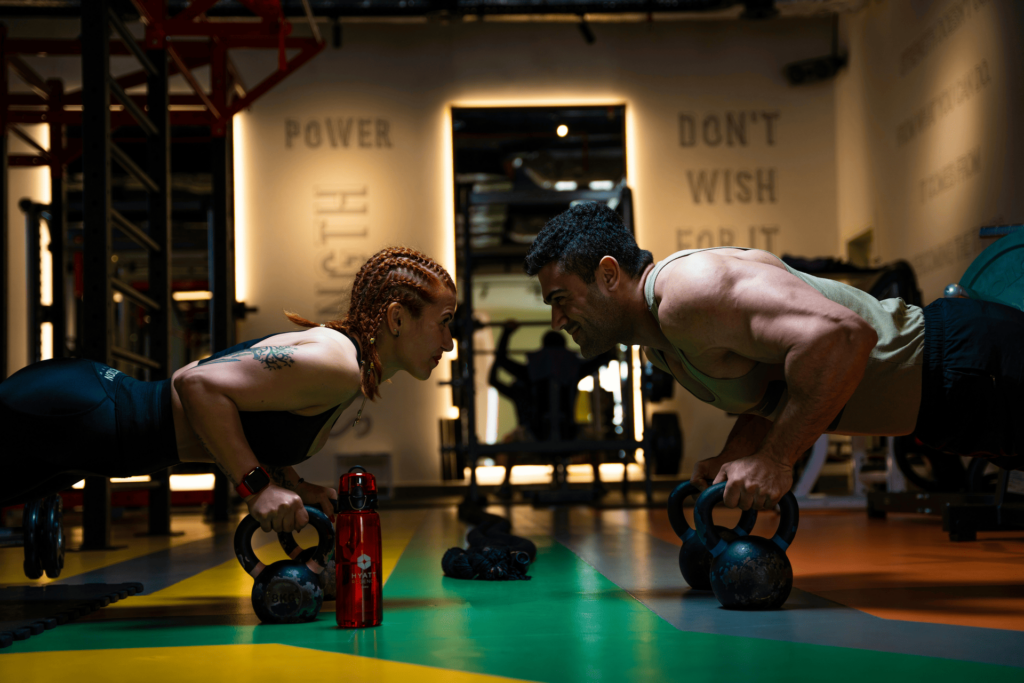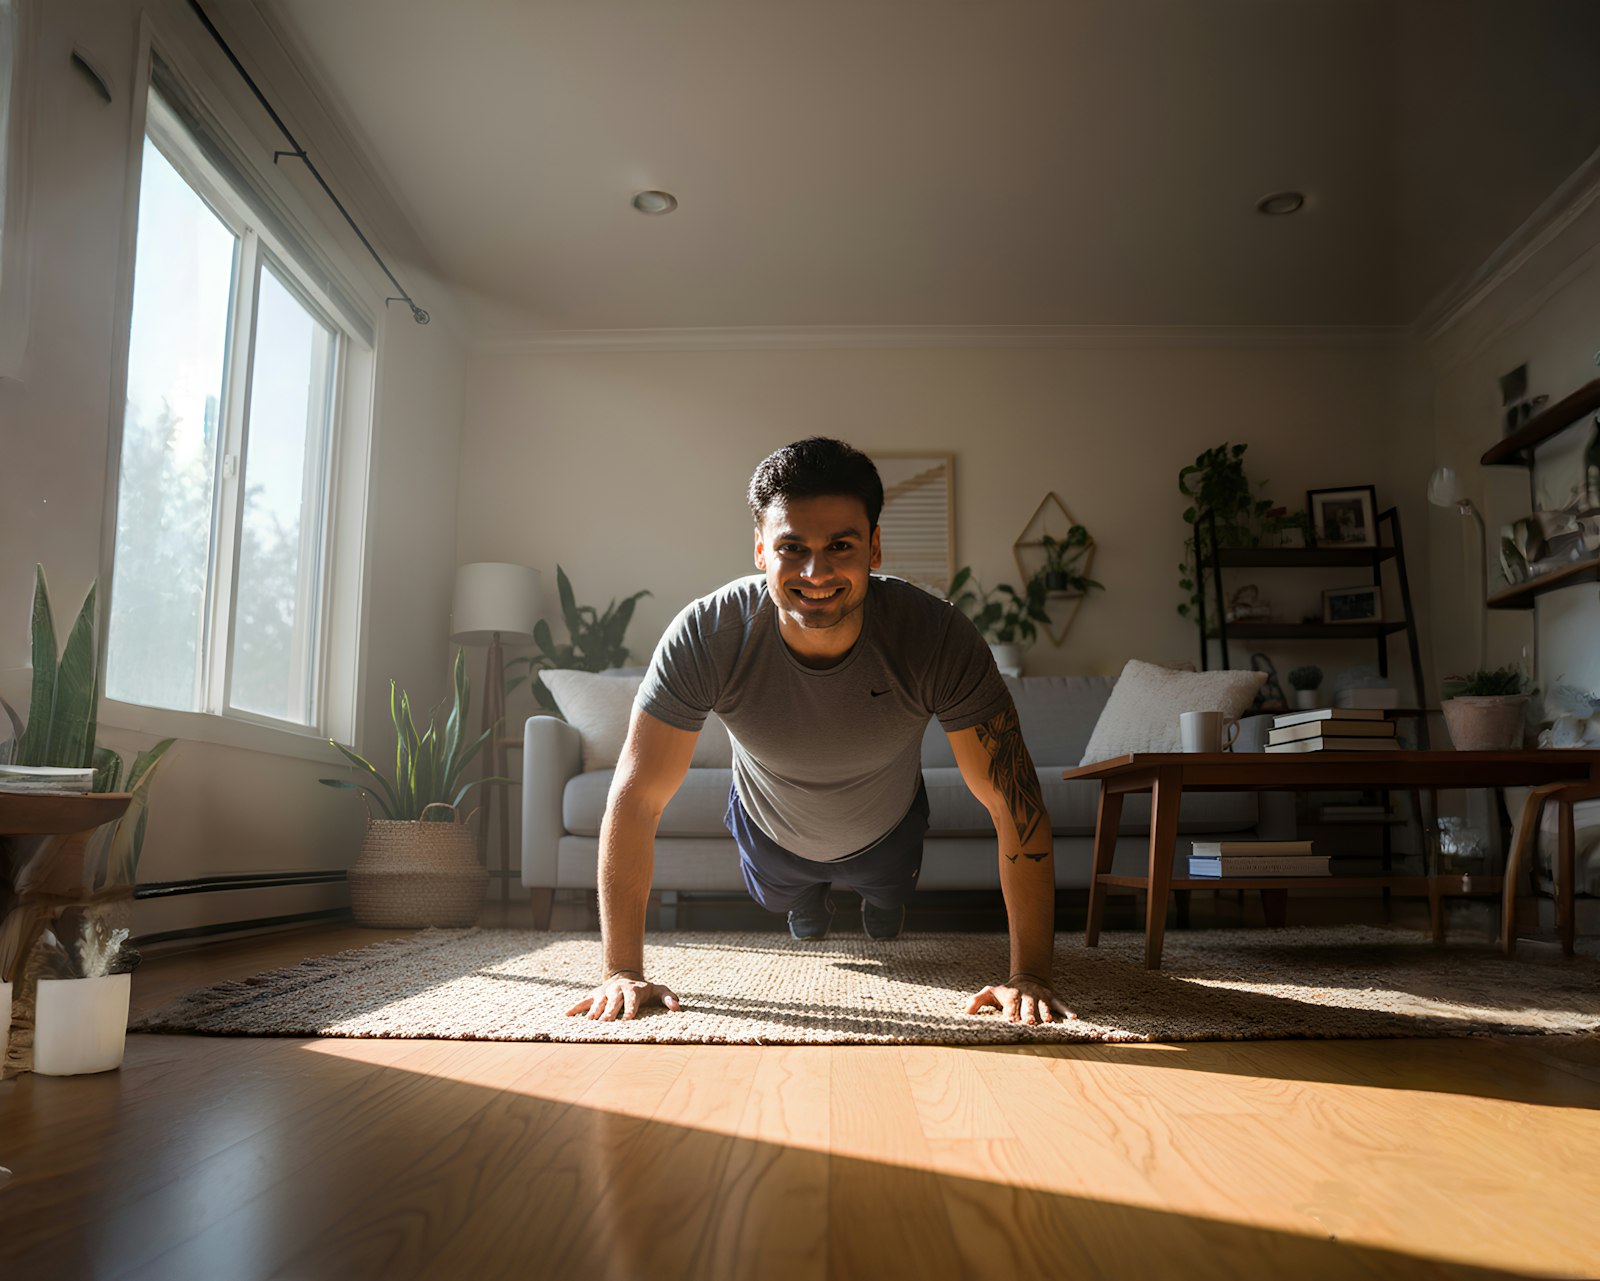
If you are looking for a calisthenics workout plan and you are completely new to this stuff, you really do not need something complicated. That is kind of how I wish I started.
I got into training at home during COVID. Gyms were closed, I had basically no equipment, and at first I was just doing whatever kept me moving: jumping jacks, high knees, spider mountain climbers, random stuff like that.
Then I discovered calisthenics, and training at home started making way more sense to me. A push-up was not just a push-up anymore, because you could make it harder. Squats could eventually turn into pistol squats. You could start working toward handstands and other skills. There was actually somewhere to go.
Looking back, I would have loved having a simple plan instead of throwing random exercises at myself and hoping for the best. So this is the kind of six-week plan I would give somebody starting today. Nothing crazy: three days a week, learn the movement first, add reps, then make the exercise harder. That is basically the whole philosophy.
No gym needed, but a pull-up bar helps. Most of this plan only needs floor space. For the pulling exercises, you will want access to a bar (more on that below).
One quick note: if you have an injury or health condition, check with a doctor first.
Want it in your inbox? Get the free beginner plan → Ten minutes a day, at home, with nothing to buy.
What Is Calisthenics, and What Do You Actually Need?
Calisthenics is basically training using your own bodyweight. Think:
- Push-ups
- Squats
- Pull-ups
- Lunges
- Planks
- Handstands, if you eventually want to start doing the cool stuff
You do not need a full gym. For most of this plan, you need some floor space and yourself.
For pulling exercises, though, I am going to be annoying and tell you to get access to an actual bar. Buy one, use a playground, use a gym, whatever works. I am not going to tell you to crawl under some random table and start pulling yourself up while praying the thing does not collapse on your face.
There are alternatives people use, but if your goal is to train pulling properly, a bar is simply better. You can still start the first part of the plan without one, but eventually I would get one.
How This 6-Week Plan Works
You train three full-body days per week. Something simple like Monday, Wednesday and Friday, or Tuesday, Thursday and Saturday. Whatever fits your life.
I like three days for beginners because it is enough to make progress without turning training into a second job. It also lines up with the WHO guidelines on physical activity, which recommend muscle-strengthening activities that work all major muscle groups on two or more days a week.
When somebody is brand new and you immediately tell them to train five or six days a week, it gets mentally exhausting. Maybe they do it for one week because they are motivated. Then the motivation disappears, and suddenly they are skipping days and feeling guilty about it. Three days is simple: train, rest, come back.
The other rule is even simpler:
Clean reps first → more reps → harder exercise.
Do not move to a harder variation just because the calendar says you are on Week 3. If your knee push-ups still look terrible, stay there. If your normal squats are still shaky, keep doing them. This is not a video game. You do not automatically unlock the next move because seven days passed.
Rest about 60–90 seconds between sets.
Weeks 1–2: Build the Foundation
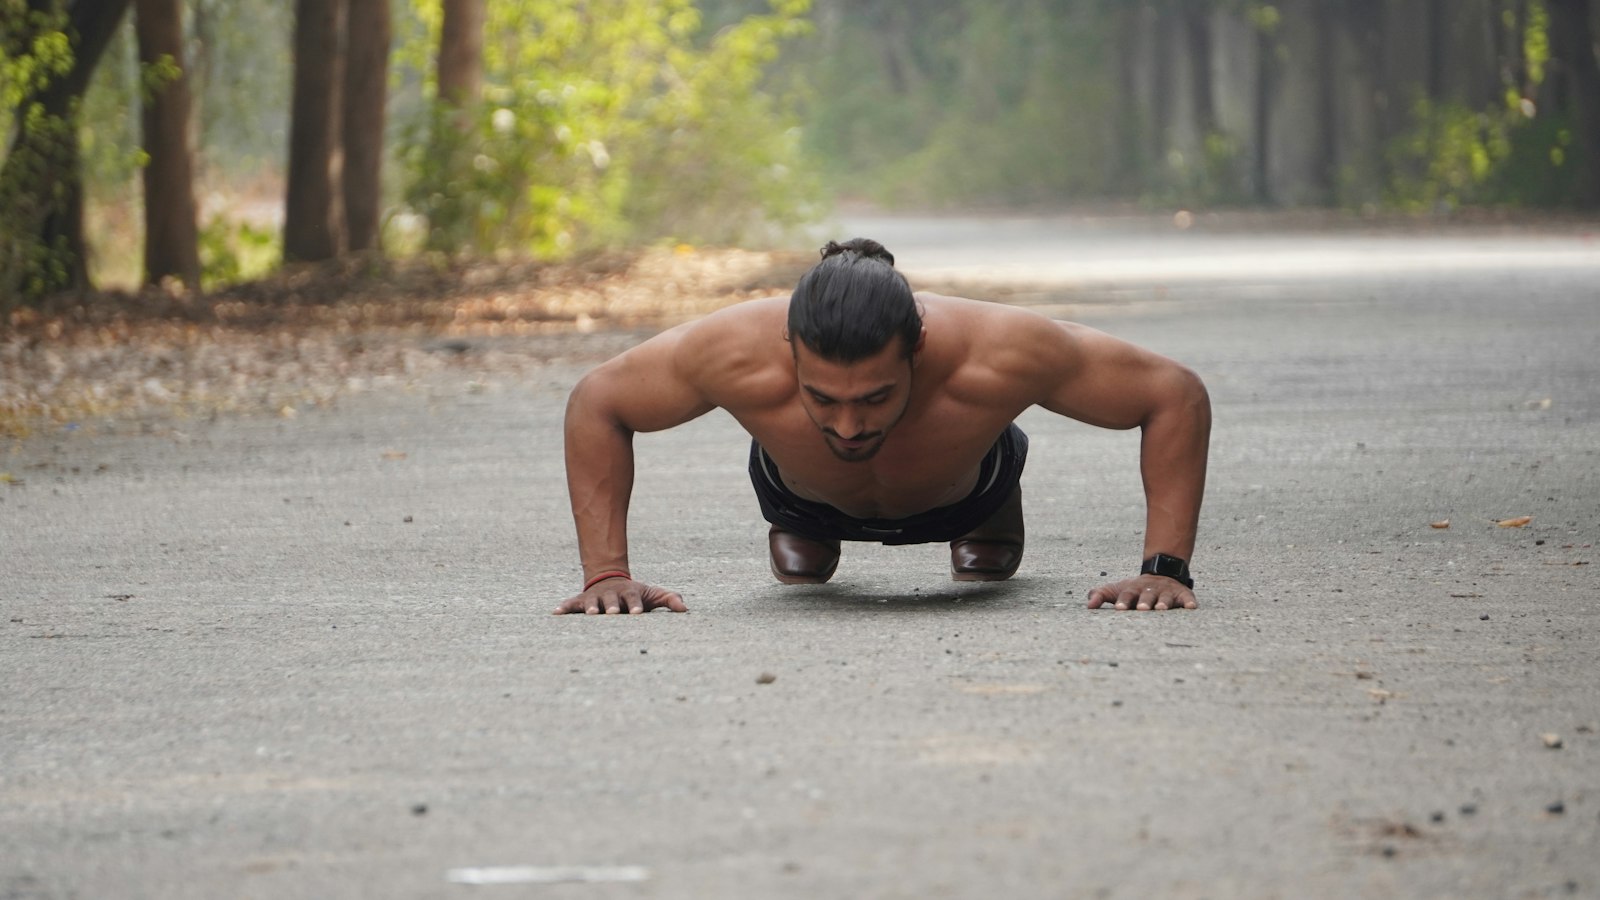
The first two weeks are not supposed to make you feel like you survived a car crash. You are learning how your body moves.
Knee Push-Ups: 3 sets of 6–12 reps
If you can already do normal push-ups properly, do them. If not, put your knees on the floor and do push-ups from there. I prefer that over wall push-ups because the movement is already much closer to the actual thing.
- Setup: Hands slightly wider than your shoulders, knees on the floor, body in a straight line from your knees to your head.
- Movement: Lower your chest toward the floor with your elbows angled back a little (not flared straight out), then push back up.
- Control: Take about two seconds on the way down. Do not rush through the reps.
- Common mistake: Sticking your butt up in the air or letting your hips sag. Keep your body in one line.
Bodyweight Squats: 3 sets of 10–15 reps
You do not need to start doing pistol squats because you saw somebody doing them on Instagram.
- Setup: Feet about shoulder-width apart, toes turned out slightly.
- Movement: Sit your hips down and back, knees following the direction of your toes, then stand back up.
- Depth: Go as low as you can while keeping your heels on the floor and your chest up.
- Common mistake: Knees caving inward or heels lifting off the floor.
Glute Bridges: 3 sets of 10–15 reps
I actually ignored glute training for a long time. My back got big. My legs got big. My glutes apparently did not get the memo. Eventually I started training them, and then I went too far in the other direction because people actually started noticing how big my butt got. So yeah, maybe do not wait three years like I did.
- Setup: Lie on your back, knees bent, feet flat on the floor about hip-width apart.
- Movement: Drive through your heels and lift your hips until your body forms a straight line from your knees to your shoulders.
- Squeeze: Squeeze your glutes at the top for a second, then lower slowly.
- Common mistake: Arching your lower back to get higher instead of using your glutes.
Plank: 3 sets of 20–40 seconds
- Setup: Forearms on the floor, elbows under your shoulders, legs straight behind you.
- Position: Keep your body straight from your head to your heels and brace your stomach like someone is about to poke it.
- Breathing: Keep breathing. Holding your breath does not make the plank better.
- Common mistake: Letting your hips collapse toward the floor, or piking them way up.
Optional: Dead Hang: 3 sets of 10–20 seconds
If you already have access to a pull-up bar, add dead hangs for grip and shoulder comfort. Do not worry about pull-ups yet. Just get used to holding your bodyweight.
- Setup: Grab the bar with your palms facing away, hands about shoulder-width apart.
- Position: Hang with straight arms and let your feet come off the floor.
- Shoulders: Stay relaxed but not completely loose. You should not feel pain in your shoulders.
- Common mistake: Kicking and swinging around. Hang still.
Weeks 3–4: Start Building Strength
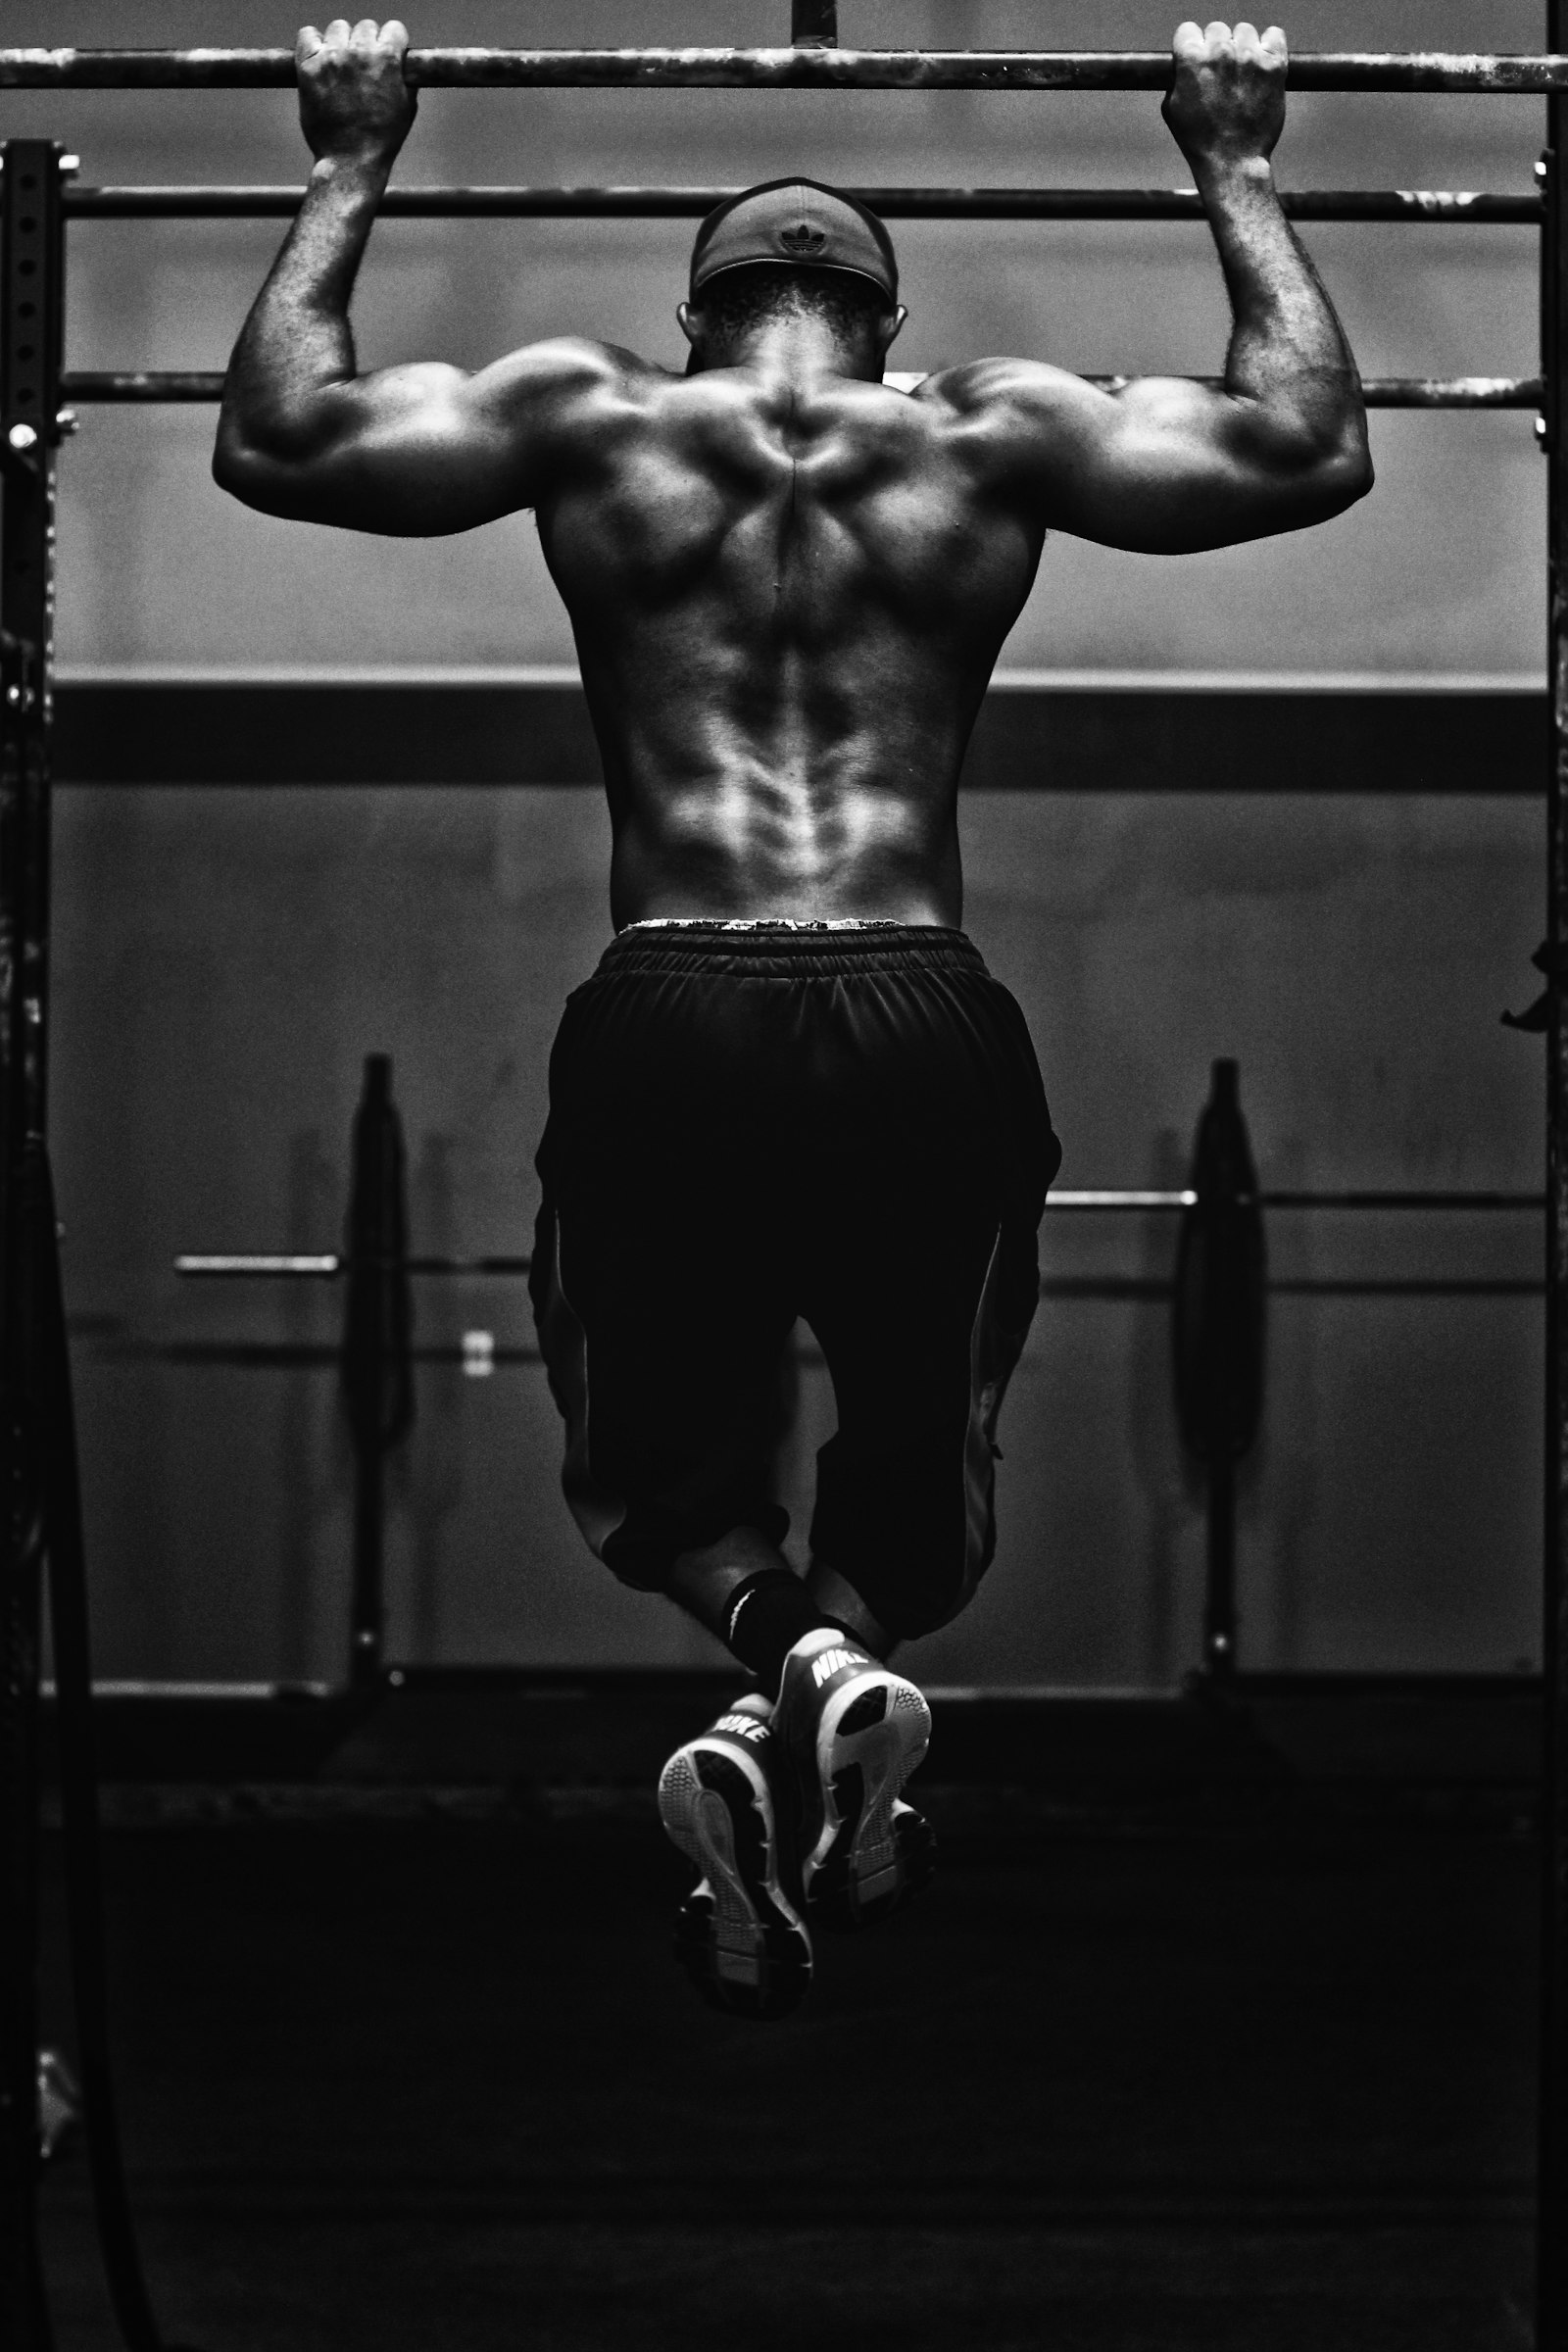
Now we make things a little more interesting. If the Week 1 exercises still feel hard, do not panic. Keep doing the easier versions.
Regular Push-Ups: 3 sets of 6–12 reps
If you can do clean push-ups now, switch to them. If not, keep the knee version. That is fine. You are trying to get stronger, not impress somebody.
- Setup: Same as the knee version, but now you are on your toes with your body straight from your heels to your head.
- Movement: Lower until your chest is just above the floor, then push the floor away.
- Core: Squeeze your glutes and brace your stomach so your hips do not sag.
- Common mistake: Doing tiny half reps at the top. Go through the full range you can control.
Lunges or Split Squats: 3 sets of 8–12 reps per leg
Now we start making each leg work more independently. Take your time. Balance is part of the exercise.
- Setup: Take a long step, one foot forward and one foot back, with your back heel lifted.
- Movement: Lower straight down until your back knee almost touches the floor, then push back up through your front foot.
- Balance: Keep your feet about hip-width apart, not on one line like a tightrope, so you do not wobble.
- Common mistake: Letting the front knee cave inward or the front heel come off the floor.
Glute Bridges (Paused): 3 sets of 12–15 reps with a 2-second pause
Keep them in. If normal ones are becoming easy, slow down the reps or pause at the top. You do not always need a completely new exercise. Sometimes you just need to make the same exercise harder.
Hollow Hold: 3 sets of 15–30 seconds
- Setup: Lie on your back and press your lower back into the floor.
- Position: Lift your shoulders and legs off the floor, arms reaching forward or overhead.
- Make it easier: Bend your knees or keep your arms by your sides if it is too hard.
- Common mistake: Your lower back lifting off the floor. When that happens, the set is over, even if you could technically keep holding.
Negative Pull-Ups: 3 sets of 3–5 slow reps
If you have a bar, this is where I would start seriously working toward your first pull-up. Get a chair, stand on it, grab the bar and put yourself in the top position. Then lower yourself as slowly as you can. That is a negative pull-up.
When I used to see somebody in the gym struggling to get their first pull-up, this is usually what I would tell them to do. Do not just throw yourself at the bar over and over hoping one attempt magically works. Train the movement.
- Setup: Use a chair or a small jump to get your chin above the bar, palms facing away.
- Movement: Lower yourself slowly, aiming for 3–5 seconds on the way down, until your arms are straight.
- Reset: Step back onto the chair for every rep. Do not try to pull yourself back up yet.
- Common mistake: Dropping the last half of the rep. Control it all the way down.
If you want the full beginner pull-up progression, I covered that separately in How to Do a Pull-Up: A Beginner’s Step-by-Step Guide.
Weeks 5–6: Start Progressing
At this point, you should understand the basic movements. Now we can start making them harder.
Regular or Diamond Push-Ups: 3 sets of 6–12 reps (diamond: 3 sets of 5–10)
If regular push-ups are still challenging, stay with them. If they are becoming easy, try diamond push-ups. Do not force the harder variation if your normal reps still look terrible.
- Setup: Bring your hands close together under your chest, with your thumbs and index fingers forming a diamond shape.
- Movement: Lower your chest toward your hands, keeping your elbows close to your body.
- Make it easier: Do them from your knees if your form breaks down.
- Common mistake: Elbows flaring out wide, which turns it back into a sloppy regular push-up.
Pike Push-Ups: 3 sets of 6–10 reps
This is where your shoulders start doing more work. Pike push-ups were one of the movements I started using as I got deeper into calisthenics, and eventually exercises like this can help you work toward things like handstands.
- Setup: Start in a push-up position, then walk your feet in and lift your hips up high, so your body makes an upside-down V.
- Movement: Bend your elbows and lower the top of your head toward the floor slightly in front of your hands.
- Push: Press back up until your arms are straight, keeping your hips high.
- Common mistake: Letting your hips drop during the rep, which turns it into a regular push-up and takes work away from your shoulders.
Split Squats: 3 sets of 10–12 reps per leg
Keep working them. If they get easy, increase the range of motion or start looking into pistol-squat progressions. That is basically how I approached it: normal squats first, then eventually I wanted to see if I could control my entire body on one leg.
Assisted Pull-Ups: 3 sets of 5–8 reps
Use a resistance band if you have one and let it help you through the movement. If you do not have one, keep doing negatives. Do not rush it.
- Setup: Loop a resistance band around the bar and put one foot or knee in it.
- Movement: Start from a dead hang and pull until your chin is over the bar, then lower with control.
- Progress: Move to a lighter band as the reps get easier.
- Common mistake: Bouncing out of the bottom using the band instead of actually pulling.
Single-Leg Glute Bridges: 3 sets of 8–12 reps per leg
Try single-leg glute bridges if normal ones are too easy. Same setup as a regular bridge, but lift one foot off the floor and drive through the other heel. Keep your hips level so one side does not drop.
Again: clean reps first, more reps, harder version. That rule works for almost everything here.
Hollow Hold or Plank: 3 sets of 20–40 seconds (plank: 3 sets of 40–60 seconds)
Increase the time slightly or use a harder variation, like straightening your legs in the hollow hold. You do not need fifteen different ab exercises. Pick something and actually get good at it.
The Full 6-Week Calisthenics Workout Plan for Beginners
Here is the entire thing without all the yapping. Do each workout three times per week, and rest 60–90 seconds between sets.
| Weeks | Push | Legs | Pull | Core / Extra |
|---|---|---|---|---|
| 1–2 | Knee push-ups: 3 × 6–12 | Squats: 3 × 10–15 | Dead hang (if you have a bar): 3 × 10–20 sec | Plank: 3 × 20–40 sec + glute bridges: 3 × 10–15 |
| 3–4 | Push-ups: 3 × 6–12 | Lunges or split squats: 3 × 8–12 per leg | Negative pull-ups: 3 × 3–5 | Hollow hold: 3 × 15–30 sec + paused glute bridges: 3 × 12–15 |
| 5–6 | Push-ups or diamond push-ups: 3 × 6–12 (diamond 5–10) + pike push-ups: 3 × 6–10 | Split squats: 3 × 10–12 per leg, or a pistol-squat progression | Assisted pull-ups: 3 × 5–8, or negatives | Hollow hold: 3 × 20–40 sec (or plank 40–60 sec) + single-leg glute bridges: 3 × 8–12 per leg |
Do not obsess over perfect numbers. If you can only do six clean reps, do six. If twelve is easy, add reps or progress the exercise.
Get the free beginner plan in your inbox → One email a day. Unsubscribe any time.
How to Know When to Make an Exercise Harder
This part is simple. Your reps should look clean, you should control the exercise, and you should not be fighting for your life on every single rep. Once you can consistently hit the upper end of your rep range with good form, move up.
For example:
- Knee push-up → push-up → diamond push-up → pike push-up
- Squat → split squat → pistol-squat progression
You are not supposed to jump from beginner to advanced overnight. Calisthenics is fun because there is always another level. When I started, I eventually became interested in pistol squats, handstands and harder push-up variations. That is where it gets addictive: an exercise that looked impossible starts becoming something you can actually do.
Common Mistakes Beginners Make
- Doing too much too soon. You get motivated and decide, “I am training six days a week now.” Cool. Talk to me in two weeks. Start with something you can actually maintain.
- Half reps. Do not shorten the movement just so you can tell yourself you did more reps. Five clean reps are better than fifteen sloppy ones.
- Skipping rest days. You do not get stronger by endlessly destroying yourself. You train, you recover, then you come back stronger.
- Turning every workout into a test. Do not turn every session into a contest of how much suffering you can tolerate.
Food Matters Too
Training is only one side of the equation. You still need to recover, which means eating enough decent food, getting protein and actually sleeping.
You do not need to become some insane meal-prep bodybuilder. But if you train hard, then eat junk, sleep four hours and wonder why you are not progressing, I do not know what to tell you. Give your body something to work with.
Not sure where to start? Get the free beginner plan → Ten minutes a day, with nothing to buy.
Can You Build Muscle With Calisthenics?
Yes. Your muscles respond to resistance, and your chest does not know whether that resistance came from a bench press or a push-up. Research backs this up: a study comparing push-ups and bench press at a similar load found both built muscle and strength about equally over eight weeks.
The important part is making the exercise challenging enough and progressing over time. Eventually, if you become very strong, adding external weight can make progression easier. But as a beginner, you have a lot of progress available using your own bodyweight.
How Many Days a Week Should a Beginner Do Calisthenics?
I would start with three days per week. It is enough, you get recovery days, and mentally it is much easier to stick to. If later you love training and want more, fine. But do not start by making your life harder than it needs to be.
Calisthenics or Weights?
Both work. I have done both.
I actually started preferring machines more as I spent more time training, because sometimes I wanted to focus completely on one muscle without worrying about balance. I wrote more about that in Gym Machines vs Free Weights for Beginners.
But calisthenics gives you something different. You learn to control your own body, and skills like pull-ups, pistol squats and handstands are just fun to chase. If you are starting at home with nothing, my beginner home workout story shows how I got going.
You do not need to join Team Calisthenics or Team Gym. Use whatever helps you train consistently.
Can Women Do This Calisthenics Workout Plan?
Of course. Nothing in this plan magically stops working because you are a woman. The starting variation might be different depending on your current strength, and that is true for men too. If regular push-ups are too hard, use knee push-ups. If pull-ups are too hard, use negatives or assistance. Progress from wherever you are.
What Happens After Week 6?
You keep going. Seriously. The six weeks are not the end of calisthenics. They are just there to give you some structure when you have no idea where to start.
After that, look at what became easy and make it harder. Maybe regular push-ups become diamond push-ups. Maybe negatives become your first pull-up. Maybe squats eventually become pistol squats. Maybe you start trying handstands.
That is exactly what made calisthenics interesting for me in the first place. There is always another skill, another variation, another small thing you could not do before.
Start simple. Get the reps clean. Add more reps. Then make the exercise harder. That is pretty much the whole game.
About the Author
I started training at home during COVID with no equipment, just jumping jacks, high knees and whatever kept me moving. Calisthenics turned that into an actual journey: harder push-up variations, pistol-squat progressions, handstands, and eventually 12–16 strict pull-ups and a few muscle-ups. Later I added gym training with machines and free weights, and these days I mix both. What I write here is what I wish someone had told me when I was starting from zero.